You can create a new Catalyst storefront channel in the Channels section of the store control panel, just like other channel types. This process, referred to as One-Click Catalyst, does more than create a channel; it also includes deploying a hosted preview of the storefront and provisioning a corresponding site in the Makeswift visual editor.
This code-free starting point enables marketers and content authors to become familiar with the features of Catalyst and the design capabilities of Makeswift without requiring a developer’s involvement. Once you’re ready to get started with the code, it’s easy to transition into the typical developer workflow by using the Catalyst CLI installer and connecting your local codebase to your storefront channel.
Create a Catalyst Storefront with One-Click Catalyst
Creating a Catalyst storefront involves provisioning a new storefront channel and the use of the One-Click Catalyst app.
Prerequisites
The One-Click Catalyst flow requires the following:
- A BigCommerce sandbox store or trial store, or a full production store, with an available storefront seat.
- A control panel user with the following permissions: “Create Store-level API accounts,” “Install applications,” “Launch applications,” “Create Channels”, “Manage Channels”, “Edit Channels”.
Follow these steps to create a Catalyst Storefront with One-Click Catalyst:
1. Log in to your BigCommerce store control panel.
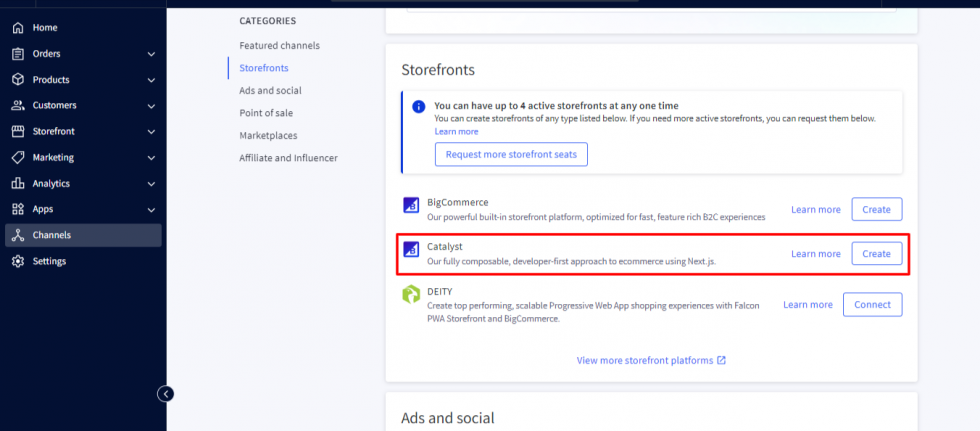
2. Navigate to Channel Manager (or Channels) and click Create channel.
3. Now, in the list of channel types, choose “Create” next to the “Catalyst” type.
4. Enter the storefront name, select “Use sample data“, choose a “Primary Language,” and click the Create button to finalize the storefront.
5. Once the provisioning process begins, you will need to wait for the initial deployment to complete.
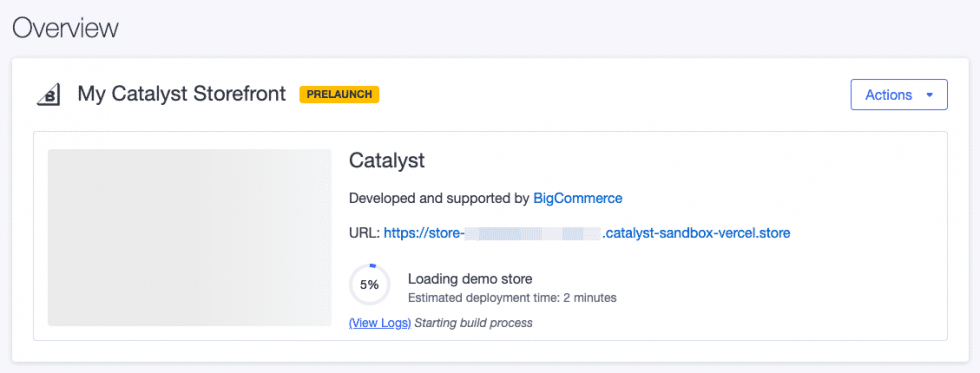
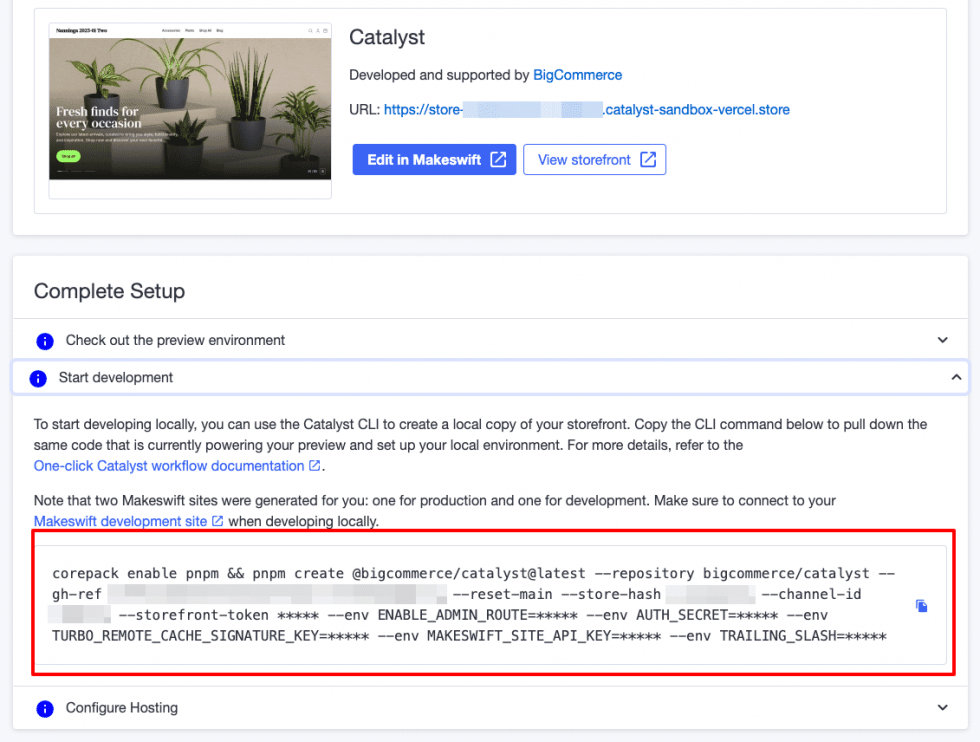
6. Once the deployment process completes, click the View Storefront button to view your hosted preview storefront.
7. Then, Click the Edit in Makeswift button to launch the Makeswift editor and confirm that you can edit your pages.
Install the Catalyst Project for local development
As we’ve seen, when viewing a Catalyst storefront channel in the BigCommerce control panel, you will be presented with a quick “Start development” CLI command to set up a local project.
Prerequisites
To install the Catalyst project on local machine. You will require the following:
Follow these steps to install the Catalyst project on local machine:
1. Copy the “Start development” CLI command from the Catalyst storefront channel in the BigCommerce control panel.
2. At the command line, navigate to the directory one level above the desired location of your project.
3. Now, run the”Start development” CLI command you copied from the channel manager.
4. Respond to the prompt “What is the name of your project?“. The value you provide will be the name of the directory created for the project.
5. Once the process is complete, the project will be created on your local machine.
6. Now, navigate to the new project working directory.
cd /path/to/catalyst/project
7. Then, run the dev server using the following command.
pnpm run dev
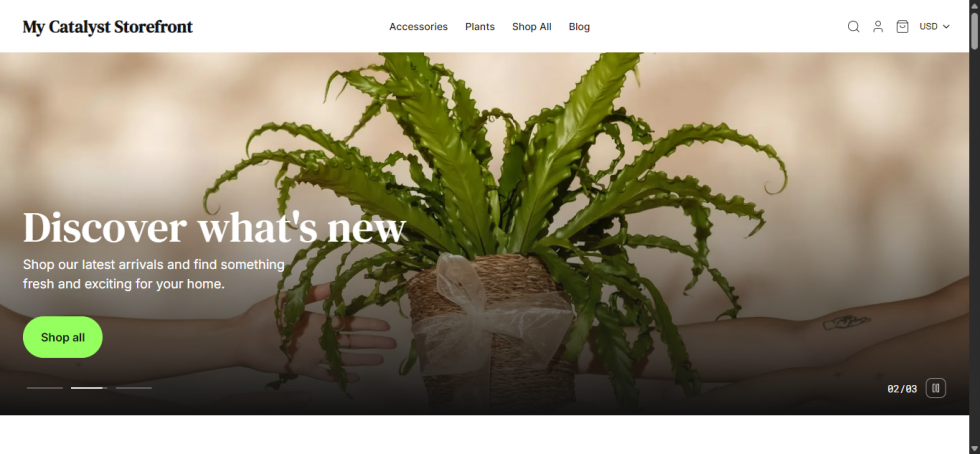
8. Now, browse to the URL displayed in the command line output. (Usually http://localhost:3000).
Provided that you chose to install sample data when creating your Catalyst storefront, you should see a fully populated storefront home page. Your local site should be identical to your hosted preview environment.
Please contact us at manish@bay20.com or call us at +91-8800519180 / +91-9582784309 for any support related to Bigcommerce. You can also visit the Bigcommerce development page to check the services we offer.