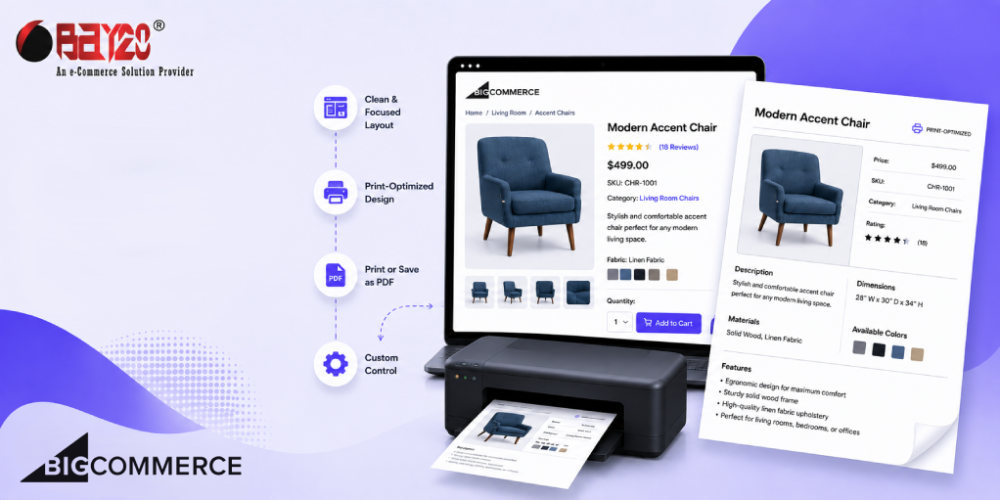
The browser’s default print behavior just wasn’t built with e-commerce in mind. Hit Ctrl+P on a typical BigCommerce product page, and you get the header, the nav menu, a cookie banner, and a footer with a newsletter signup, all crammed onto paper along with the one thing anyone actually wanted: the product.
If you want something that looks like it was actually designed for print, just the image, the name, the description, laid out cleanly. You have to build that yourself. Here’s a pattern that works well for it: mark the elements you want to keep, clone them into their own container, hide the rest of the page, print, then put everything back.
Pick What You Want, Not What You Don’t
The usual instinct is to hide things one at a time: hide the header, hide the nav, hide the newsletter popup, hide whatever else is cluttering the page. That list only grows as the site grows, and it’s easy to forget to add something new to it six months later. Flip it around instead. Tag the elements you actually want printed with a class, and build the print output from those.
<figure class="custom-print">
  <img src="product-image.jpg" alt="Product" />
</figure>
<div class="custom-print">
  <h1>Product Name</h1>
  <p>Product description goes here.</p>
</div>
Anything without that class doesn’t make it into the printed page. You’re not maintaining a list of things to exclude anymore, you’re deciding what belongs, and everything else falls away on its own.
Clone the Elements to Keep the Print Layout Separate from the Live Page
Here’s the part that makes this actually reliable. Rather than hiding most of the page and hoping the leftover pieces arrange themselves nicely for print, it copies the marked elements into a brand-new container that sits outside the page’s normal structure. That copy is what gets styled and printed. The real page underneath remains the same.
let $printClone = $('<div class="print-clone"></div>');
$('.custom-print').each(function () {
    $printClone.append($(this).clone());
});

$('body').append($printClone);
Product pages tend to have a lot of layout logic wrapped around the content, grids, sticky elements, and flexbox containers stacked three levels deep. Trying to bend that existing structure into a print layout with @media print rules usually turns into a losing fight against specificity. A separate container skips all of that. It’s a blank page, and you get to design it however you want.
Hide the Rest of the Page Content
The clone handles what shows up. You still need to deal with what’s left behind on the live page: header, cookie banner, promo bar, that sort of thing:
let hiddenSelectors = ['.body', '#consent-manager-update-banner', '.nanobar', 'header'];

hiddenSelectors.forEach(sel => $(sel).hide());
pageYOffsetBeforePrint = window.scrollY;
window.scrollTo(0, 0);
Keep this list short. Since the print view only ever includes what’s tagged with custom-print, you don’t need to track down every possible element that is available on the page. Scrolling back to the top before printing matters more than it sounds like it should. Some browsers will start the print job from wherever the page happened to be scrolled to, so a customer who scrolled halfway down before hitting print could end up with a page that starts mid-content.
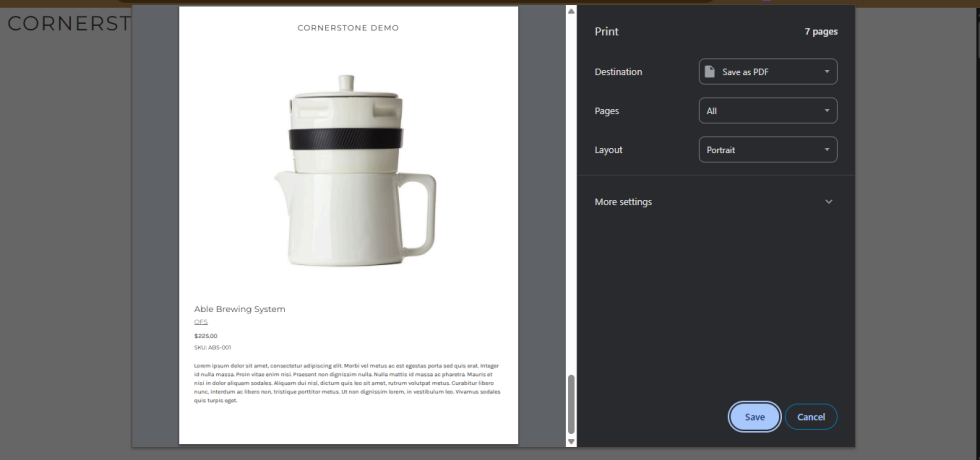
Show the Original Page Layout after printing
Once the print job finishes, all of it gets reversed:
function cleanupAfterPrint() {
    hiddenSelectors.forEach(sel => $(sel).show());
    window.scrollTo(0, pageYOffsetBeforePrint);
    $('.print-clone').remove();
}
Bind It to the Browser’s Print Events, Not Just Your Button
It’s tempting to put all this setup logic directly inside the print button’s click handler. Don’t. Customers can also trigger printing through the browser’s own shortcut or menu, completely bypassing your button. If the setup only runs on a button click, printing through Ctrl+P would show the raw, unstyled page.
The browser gives you two events made for exactly this: beforeprint, right before the dialog opens, and afterprint, once it closes.
$(window).on('beforeprint', prepareForPrint);
$(window).on('afterprint', cleanupAfterPrint);

$('.print-button').on('click', function () {
    window.print();
});
The button itself ends up being almost nothing. It just calls the browser’s native print function. The actual setup and teardown happen through the print events, so it works no matter how the print dialog gets triggered.
The Actual Design Work Happens in CSS
Once the clone exists and the rest of the page is hidden, styling it is just regular CSS scoped to print:
@media print {
  .print-clone {
    display: block;
  }

  .print-clone figure.custom-print {
    text-align: center;
    margin-bottom: 20px;
  }
}
Because you’re styling an isolated container instead of overriding the live site’s existing rules, this ends up being a lot less painful than trying to wrestle print styles onto a layout that was never built with printing in mind.
Conslusion
Honestly, most product pages just don’t need a print button, and plenty of stores skip it entirely. But for the ones that do, like lighting catalogs, spec sheets, or anything a customer might want to hand a contractor or tape to a wall, a print output that actually looks designed says something about the store. It’s a small feature, but it’s the kind of detail that separates a store someone built carefully from one that was thrown together.
Please contact us at wargis@bay20.com/manish@bay20.com or call us at +91-9582784309 or +91-8800519180 for any support related to Bigcommerce. You can also visit our website to check the services we offer.