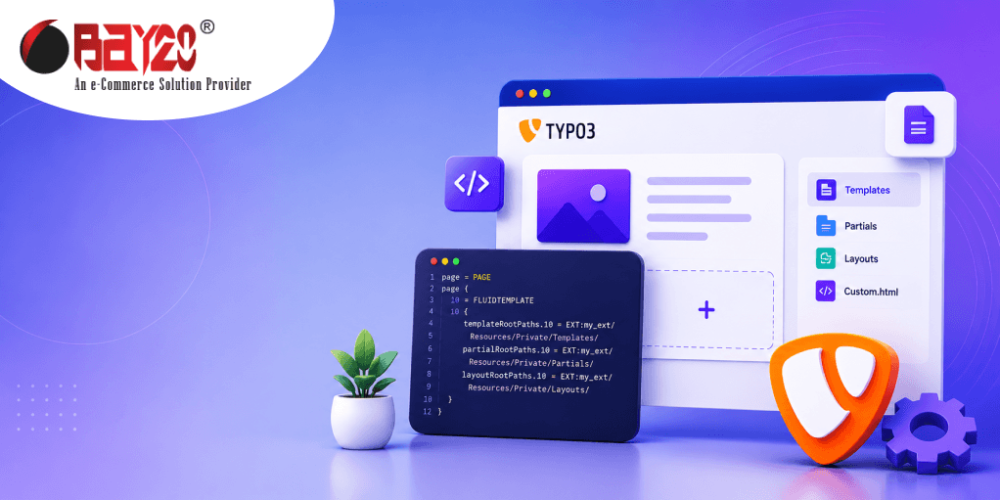
TYPO3 lets you control how your website looks and works. One of the best ways to use that control is by building your own page template. A custom template lets you design a page the way you want, instead of using a plain layout that doesn’t match your brand or your content.
This guide explains the TYPO3 process step by step in simple language.
What Is a Page Template, Really?
Think of a page template like a blueprint for a house. It decides where things go on a page: the header at the top, the menu on the side, the main content in the middle, and the footer at the bottom. Once you build this blueprint, TYPO3 uses it to show your content the same way across your site.
Requirement
Before you begin, make sure you have:
- Access to the TYPO3 backend (the admin area)
- A basic site package or extension folder where your template files will live
- A text editor to write some simple code (HTML and a bit of TypoScript)
You don’t need to be an expert coder. Basic knowledge of HTML is enough to get started.
Step 1: Create a Site Package
TYPO3 keeps templates inside something called a “site package.” This is just a folder that holds all your design files: layouts, templates, and partials.
Inside your extensions folder, create a new folder for your site package. A typical structure looks like this:
my_sitepackage/
├── Configuration/
├── Resources/
│   ├── Private/
│   │   ├── Layouts/
│   │   ├── Templates/
│   │   └── Partials/
│   └── Public/
This structure keeps things tidy. Layouts hold the overall page structure, Templates hold the design for a specific page, and Partials hold small pieces you reuse, like a header or a footer.
Step 2: Build the Layout File
The layout is where you set up the main skeleton of the page. This is the shared frame that every page will sit inside, so we keep it as the default layout. Inside the Layouts folder, create a file called Default.html. This file usually holds the basic HTML structure along with spots for the header, the main content, and the footer.
Here’s a simple example:
<html>
<body>
  <f:render partial="Header" arguments="{_all}" />

  <main>
    <f:render section="Main" />
  </main>

  <f:render partial="Footer" arguments="{_all}" />
</body>
</html>
This tells TYPO3: “Show the header, then whatever goes in the main section, then the footer.”
Step 3: Create Your Custom Page Template
Now go to the Templates folder. Instead of making just another plain page, let’s build one made for a specific purpose, say, a custom landing page or a service page. Create a file called CustomPage.html. This is where the real content of that page goes, and it connects to the layout you made in Step 2.
<f:layout name="Default" />

<f:section name="Main">
  <h1>{data.title}</h1>
  <p>{data.bodytext}</p>
</f:section>
This template tells TYPO3 to use the “Default” layout for its frame, and it fills the main section with the page title and body text. You can rename this file to match whatever kind of page you are building, such as LandingPage.html or ServicePage.html, so it is easy to tell apart from other templates later.
Step 4: Add Reusable Partials
Partials are small pieces of code you can use again and again across templates, like a header or a footer. Create files named Header.html and Footer.html inside the Partials folder. These stay the same across your site, even as you add more custom page templates later.
<header>
  <h1>My Website</h1>
  <nav>
    <!-- your menu here -->
  </nav>
</header>
Using partials saves you from writing the same code again and again. If you ever need to change your header, you only have to update it in one place, and every page that uses it will update too.
Step 5: Set Up TypoScript
TypoScript is the configuration language TYPO3 uses behind the scenes. It tells TYPO3 which layout, template, and partial folders to use, and which template file to load for this custom page. In your site package, create a TypoScript setup file and add something like this:
page = PAGE
page {
  10 = FLUIDTEMPLATE
  10 {
    templateRootPaths.0 = EXT:my_sitepackage/Resources/Private/Templates/
    layoutRootPaths.0 = EXT:my_sitepackage/Resources/Private/Layouts/
    partialRootPaths.0 = EXT:my_sitepackage/Resources/Private/Partials/
    templateName = CustomPage
  }
}
Notice that templateName points to CustomPage, not Default. This is what tells TYPO3 to load your custom page template, while it still uses the default layout and the shared header and footer partials underneath it.
Step 6: Include Your Site Package in TYPO3
Go to the TYPO3 backend, open the Template module, and include your new site package’s TypoScript setup. This step connects everything you built to the live website.
Step 7: Assign the Template to a Page
Now open the page you want to style, go to its page properties, and pick your custom template if you have set up more than one. If you only built one so far, TYPO3 will use it on its own once the TypoScript is active.
Step 8: Preview and Adjust
Once everything is connected, open the page on the frontend and see your template in action. It is normal to need a few rounds of small changes, moving things around, fixing spacing, adjusting colors, until it looks right.
Please contact us at wargis@bay20.com/manish@bay20.com or call us at +91-9582784309 or +91-8800519180 for any support related to Typo3. You can also visit our website to check the services we offer.